Begin with use, not hardware
Every room has a job. Write down the top three tasks for the space and design for those tasks.
- Huddle: quick join, tight camera framing, clear speech for four people
- Medium room: natural camera angles, reliable table microphones and or ceiling mic arrays, simple controls
- Boardroom: confident presenter tools, clean sightlines, consistent lighting
This short exercise guides real decisions. It informs camera height, mic type and placement, display size, control locations, and cable paths. It also helps IT decide where to standardize and where to allow flexibility.
Sightlines that do not strain
Keep displays at a height that feels comfortable for both front and back rows. Align primary content with the presenter position so heads face the same direction. Place the main camera as close to the content as practical, so eye lines stay natural, whether the camera is above or below the display. For deeper tables, consider dual displays or a larger single display, so far-end faces remain visible without squinting.
Acoustics before finishes
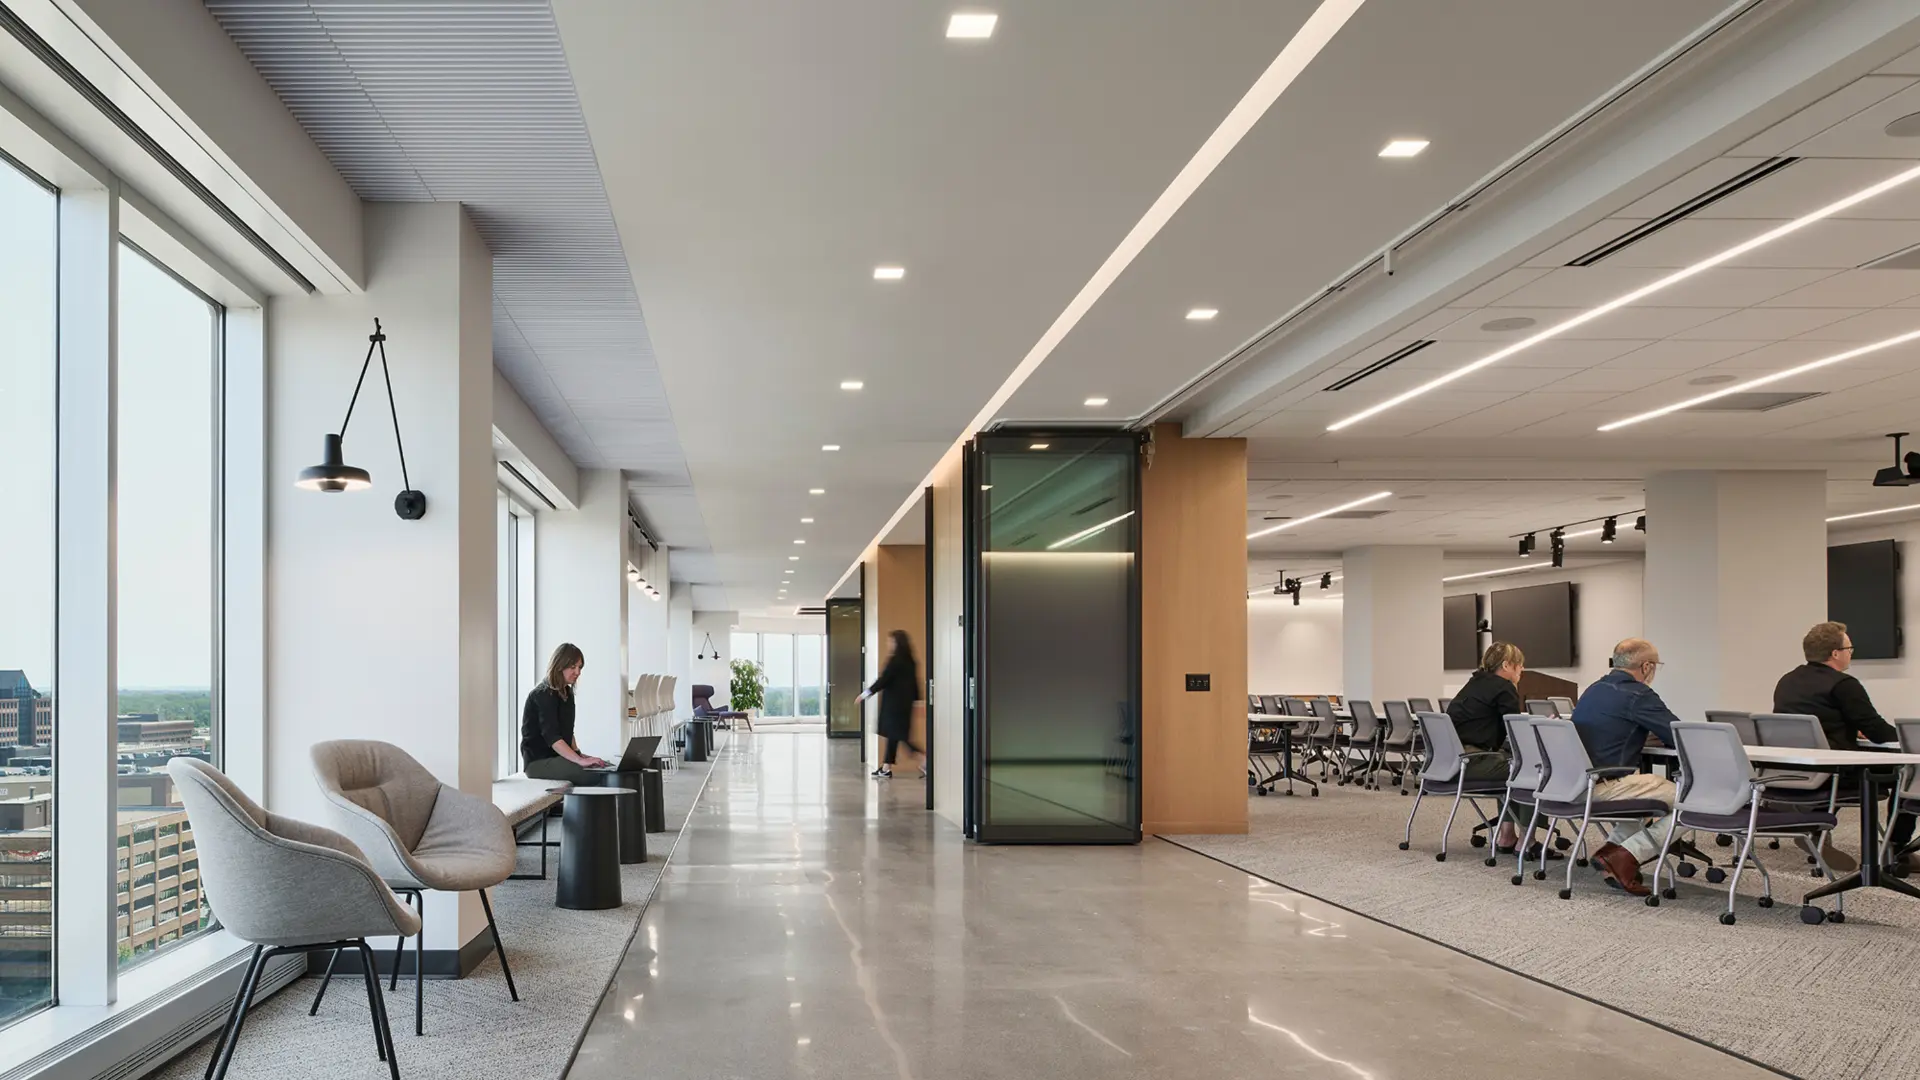
Glass and concrete are common, and they are reflective. Plan absorption early, so speech stays clear, and the room does not feel alive. Break up parallel hard surfaces, add fabric panels at first reflection points, and use soft flooring or area rugs where you can. Good acoustic treatment reduces echo and listening to fatigue and saves time later during DSP tuning.
Lighting that flatters face
Even front-biased light keeps faces natural on camera. Avoid strong backlight from windows that wash out presenters. Create a simple preset for video calls, so users tap one button and look good. In larger rooms, add a small fill of light near the primary speaking position to keep exposure consistent when people move.
Control that feels simple
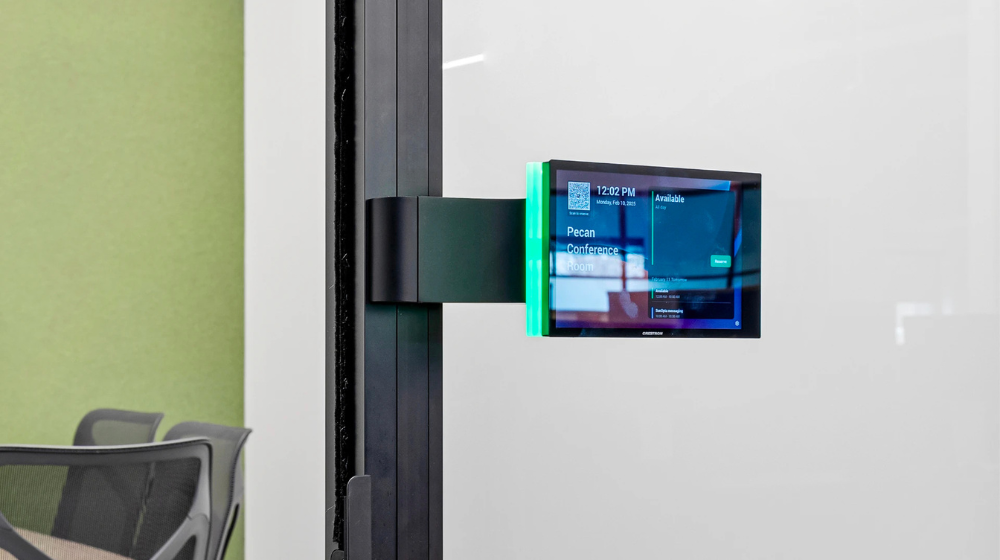
Provide a simple control interface with clear labels. A single Start Meeting button should launch the platform, set audio routes, select the right camera, and adjust lighting. Place the control where the presenter naturally stands. Add a small QR code that opens an email to the AV service provider or a support page so users can reach out quickly when they need help.
Protect intent through the bid
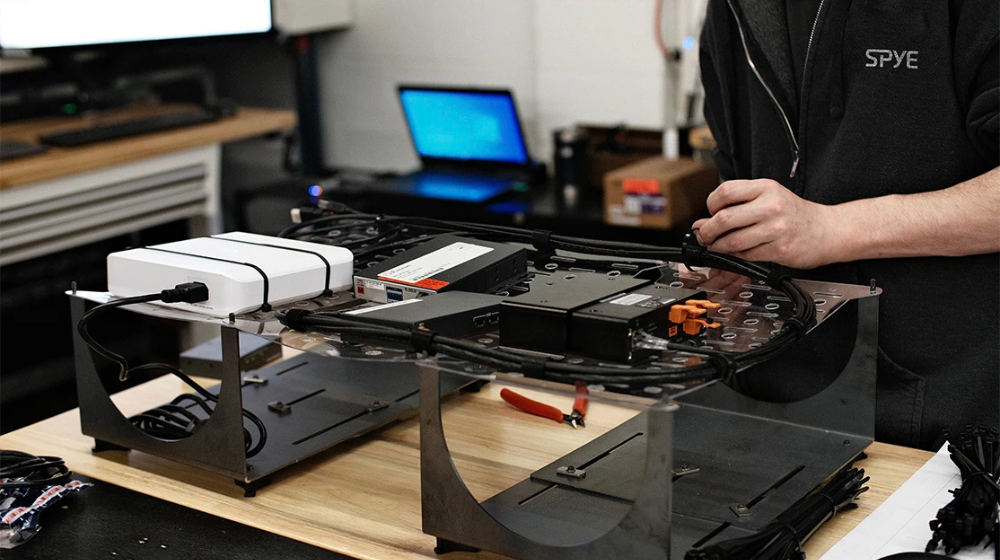
Carry design intent into construction with precise notes. Call out camera heights and offsets, display centers, mic coverage, conduits, cable trays, and device elevations. Include a reflected ceiling plan that shows mic and speaker locations relative to HVAC and lights. These details cut guesswork and reduce change orders in the field.
Commissioning and handoff
Schedule final camera framing and DSP tuning after furniture and acoustic treatments are in place. Label cable paths and device IDs to match the drawings. Leave behind a one-page quick start and a short video for each room type. This handoff helps the space feel effortless long after day one.


